
 Abraham Hyatt
What to expect
Learning to set the iron on a bench plane can be one of the most frustrating parts of using a wooden plane. If this is your first time, it will probably take you several tries. But once you've mastered it, you'll be able to do it quickly every time.
The most common mistake people make is setting the iron so that it comes too far out of the plane. The difference between "just right" and "too much" is tiny.
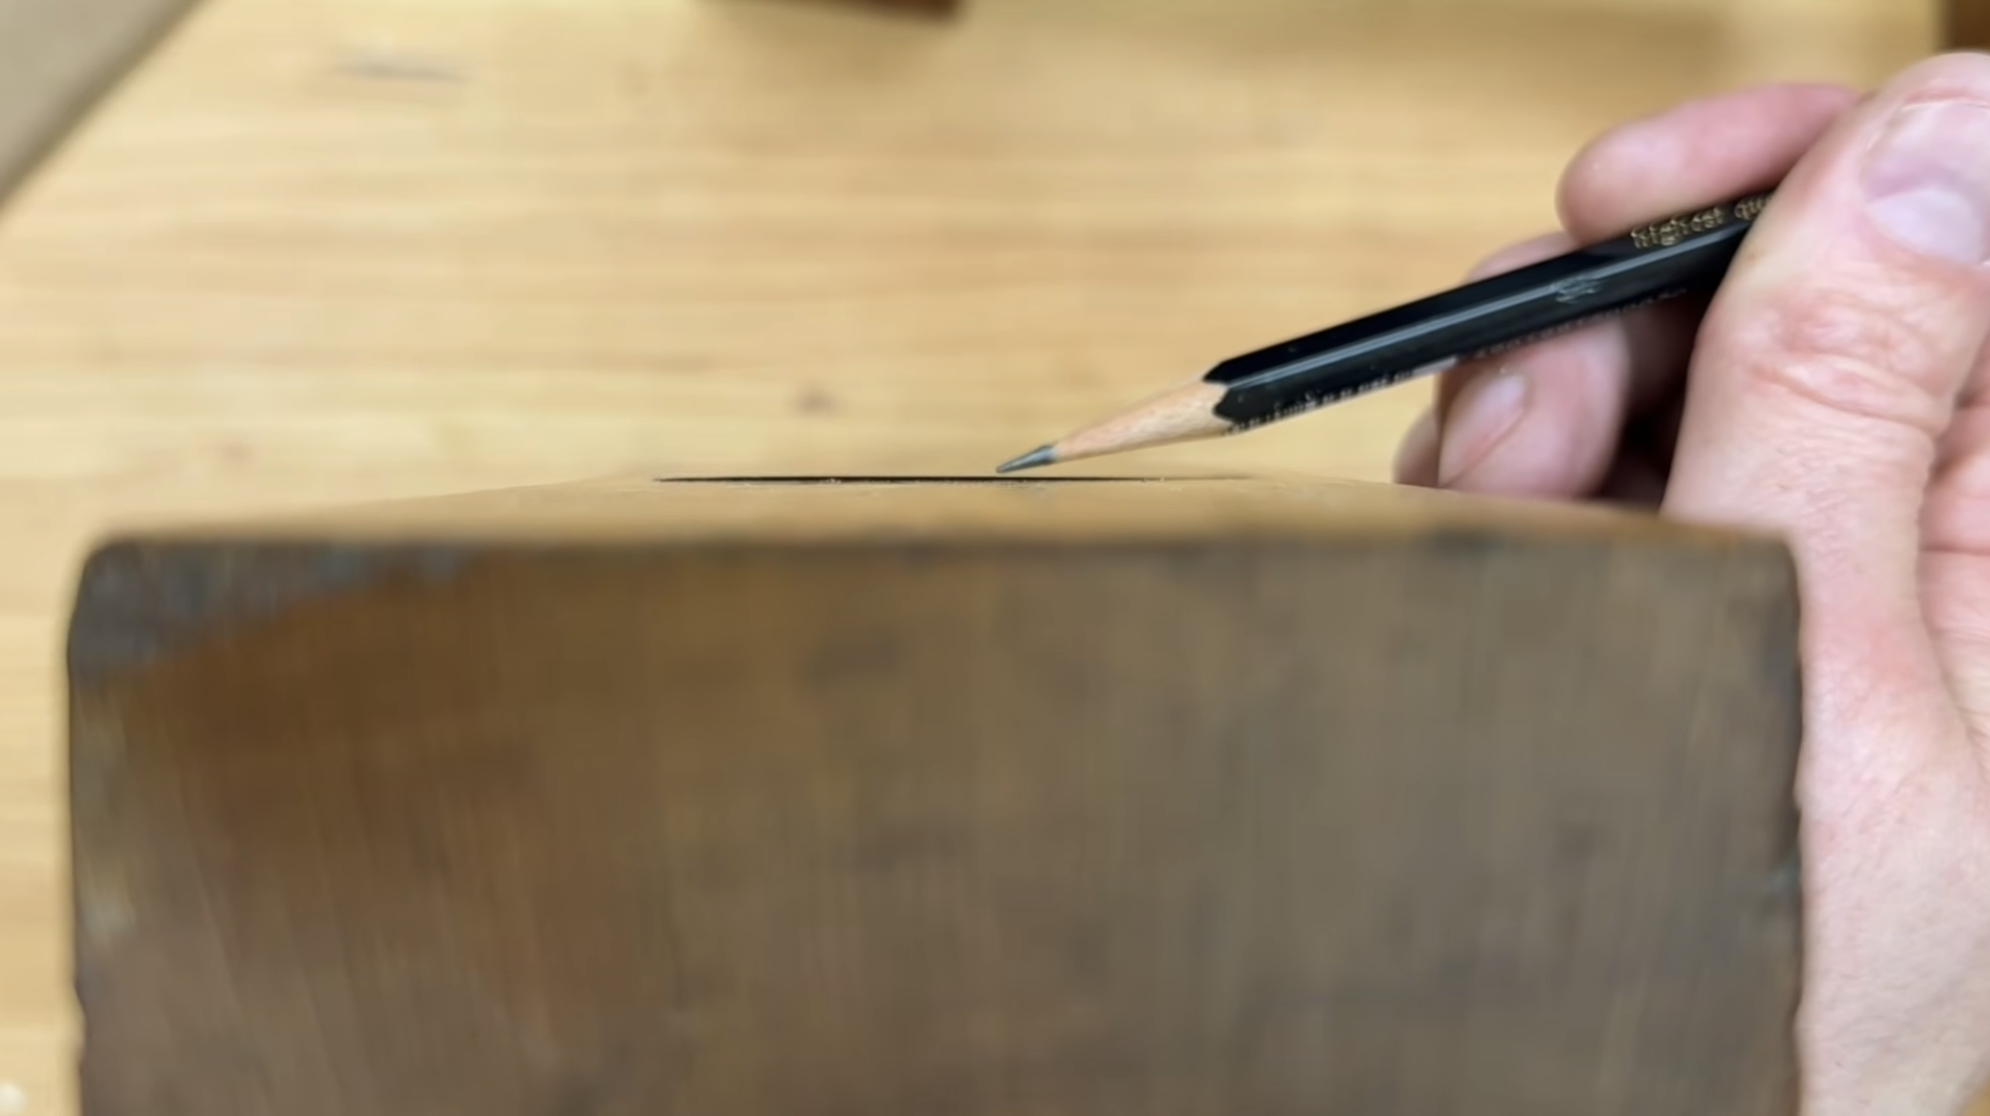 Just right
What you need
- The only tools you'll need are a mallet and a hammer. Before you begin, you need to set up your blade, also called the iron, and your chip breaker. The back of your iron and the leading edge of the chip breaker should be dead flat so there's a perfect marriage between the two. The chip breaker should be set about 1/16 inch (1.5 mm) from the edge of the blade.
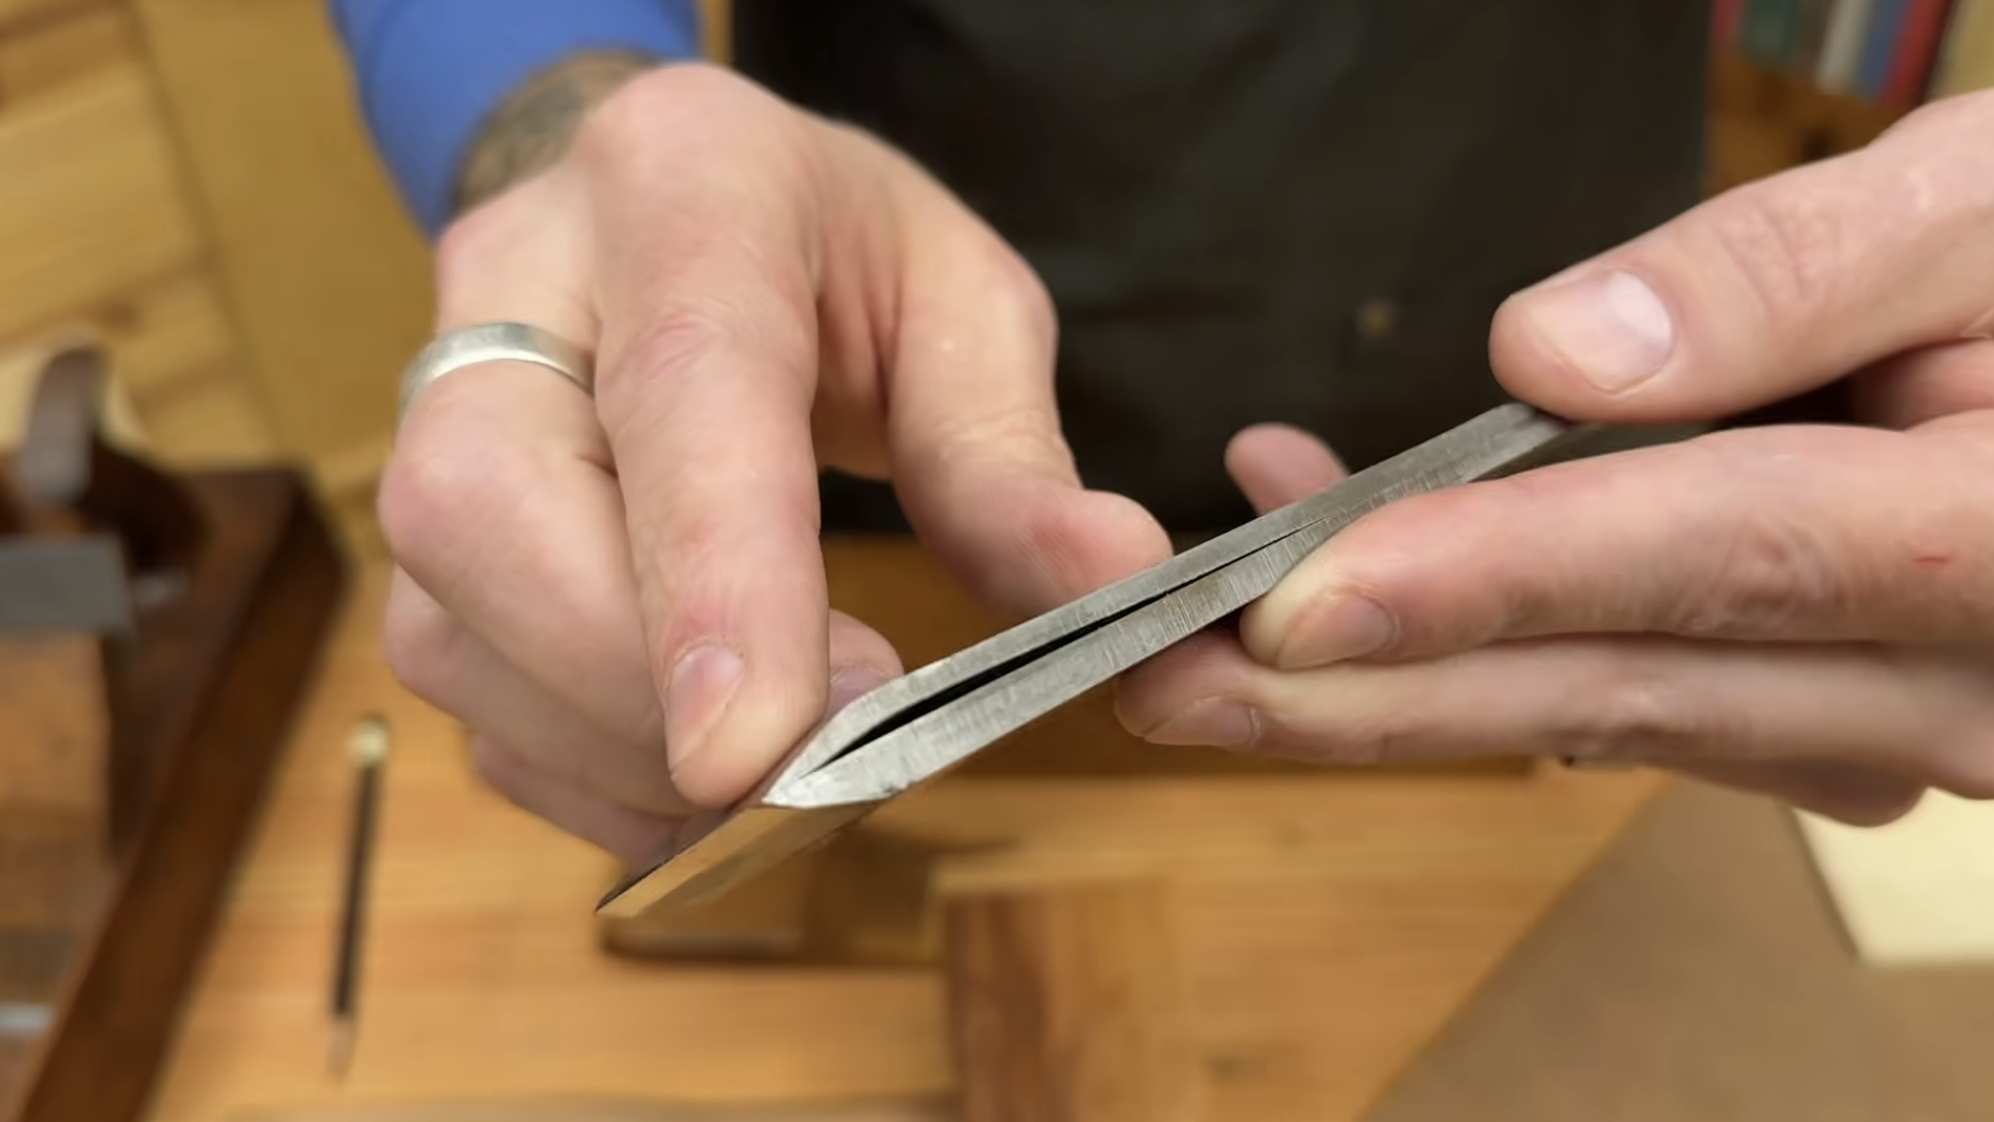
Setting the iron
- Place your plane on your workbench and put the iron and wedge in. If you push the plane forward, it will catch on the workbench. Rest your hand on the handle (also called the tote), and pull the iron back about a 16th of an inch.
- Using your mallet, set the wedge with a light tap. Don't hit the wedge with a lot of force. It will be difficult to remove if you do.
- Turn the plane over so that the tote is facing down. Look down the sole of the plane. Your eye-line should be almost parallel to the sole but set back a little bit so that you can just barely see the mouth.
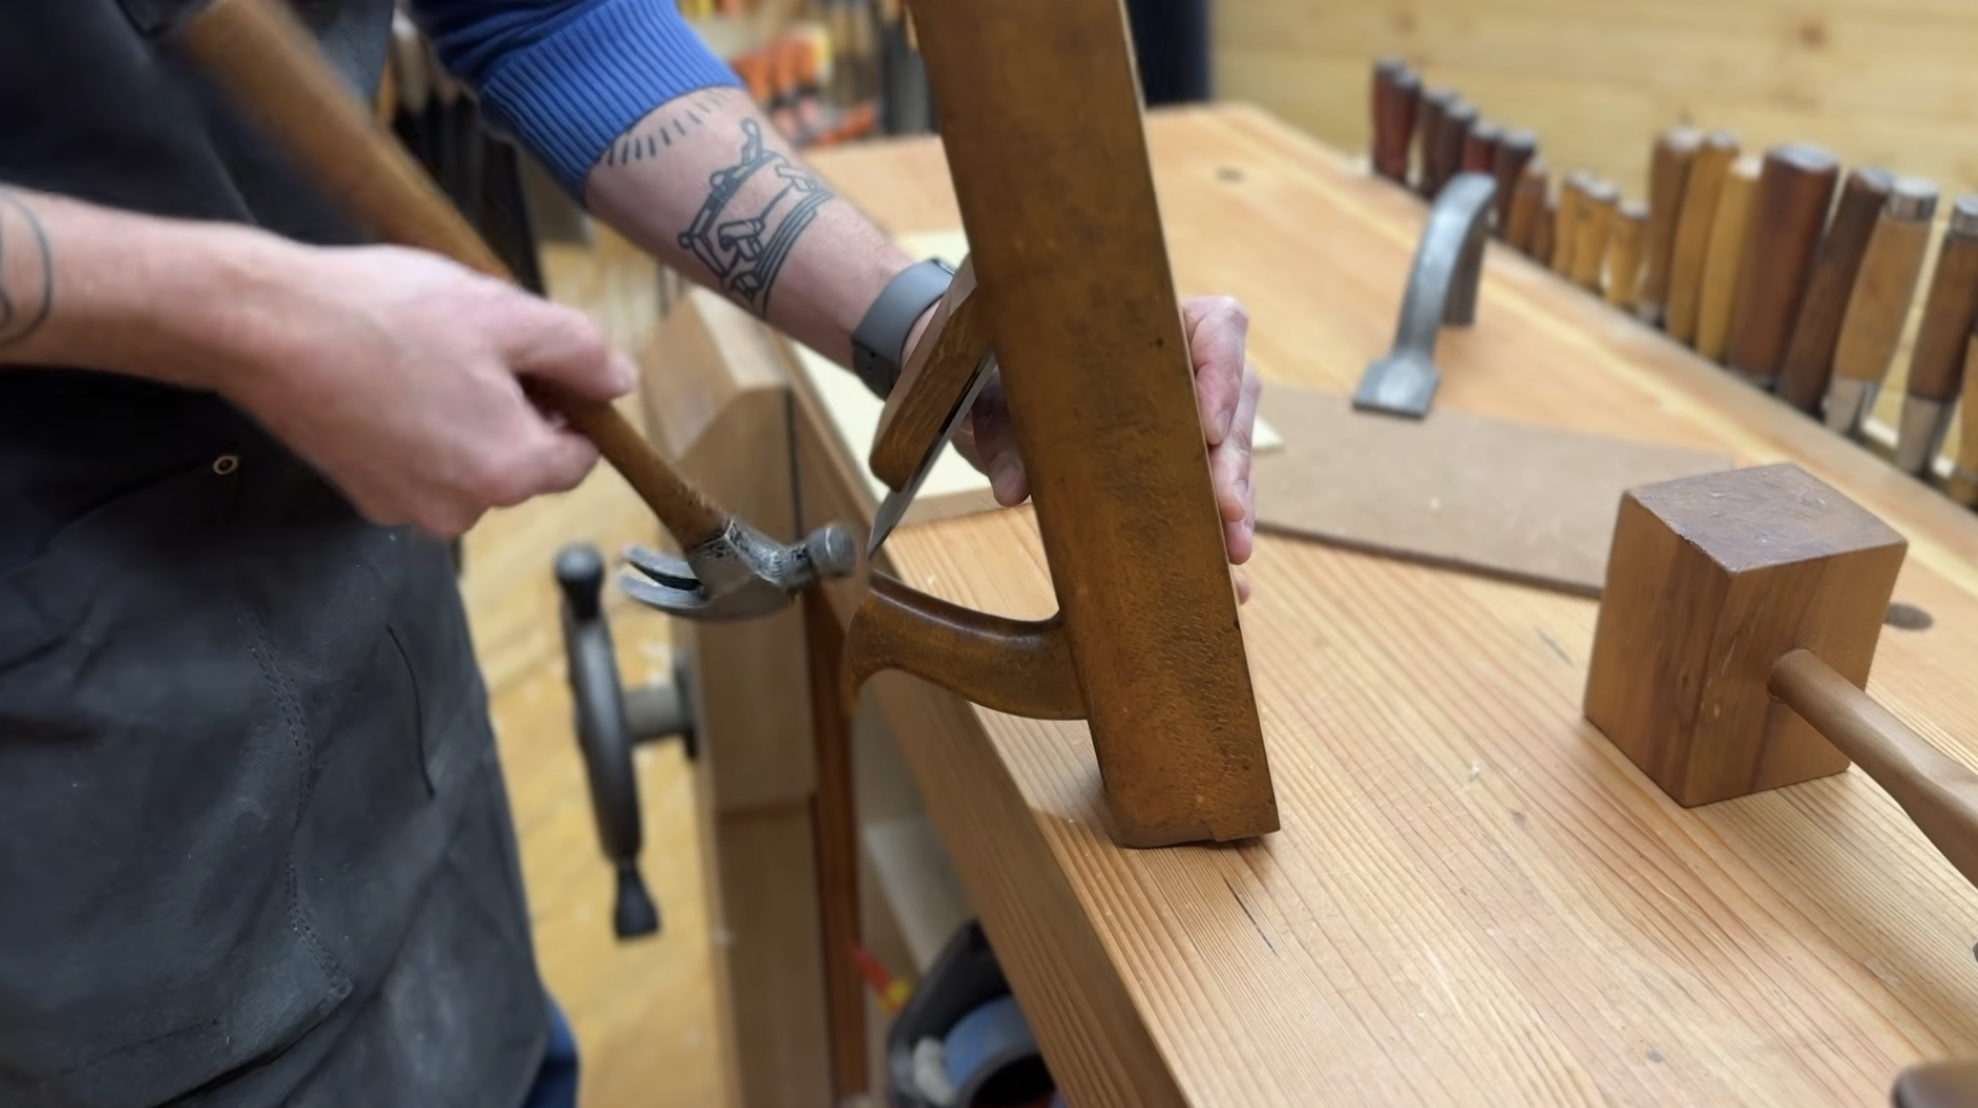
- Tap the iron with the hammer. Watch for the cutting edge of the iron to just barely come out of the mouth. You know you've got it right when you see a thin dark line, about as wide as a pencil line.
- If the blade is sticking out of the mouth on one corner more than the other, tap one side of the iron with your hammer to push up the opposite corner of the blade. Finally, tap the wedge firmly to lock it in place.
- If the iron is coming too far out of the plane and you're having a hard time planing, hit the top of the plane near the front, or on the strike button, with your mallet. That will push the iron back up the throat. Turn the plane back over and repeat the setting process. </ul>
The paper test
You don't need calipers to check whether the iron is set correctly. Compare your shaving to a sheet of paper. The difference between shavings that are too thick or too thin is tiny. The wood species you’re planing will dictate how you set your iron. Treat two sheets of paper as a starting point, not a rule.
| Setting | Shaving thickness | What it looks like |
|---|---|---|
| Too coarse | About four sheets of paper | Shavings are brittle and break easily. You'll probably see heavy tear-out. |
| Too fine | About one sheet of paper | Shavings bend without breaking. This is way too thin for a jack plane. |
| Just right | About two sheets of paper | Shavings bend and then eventually break. |
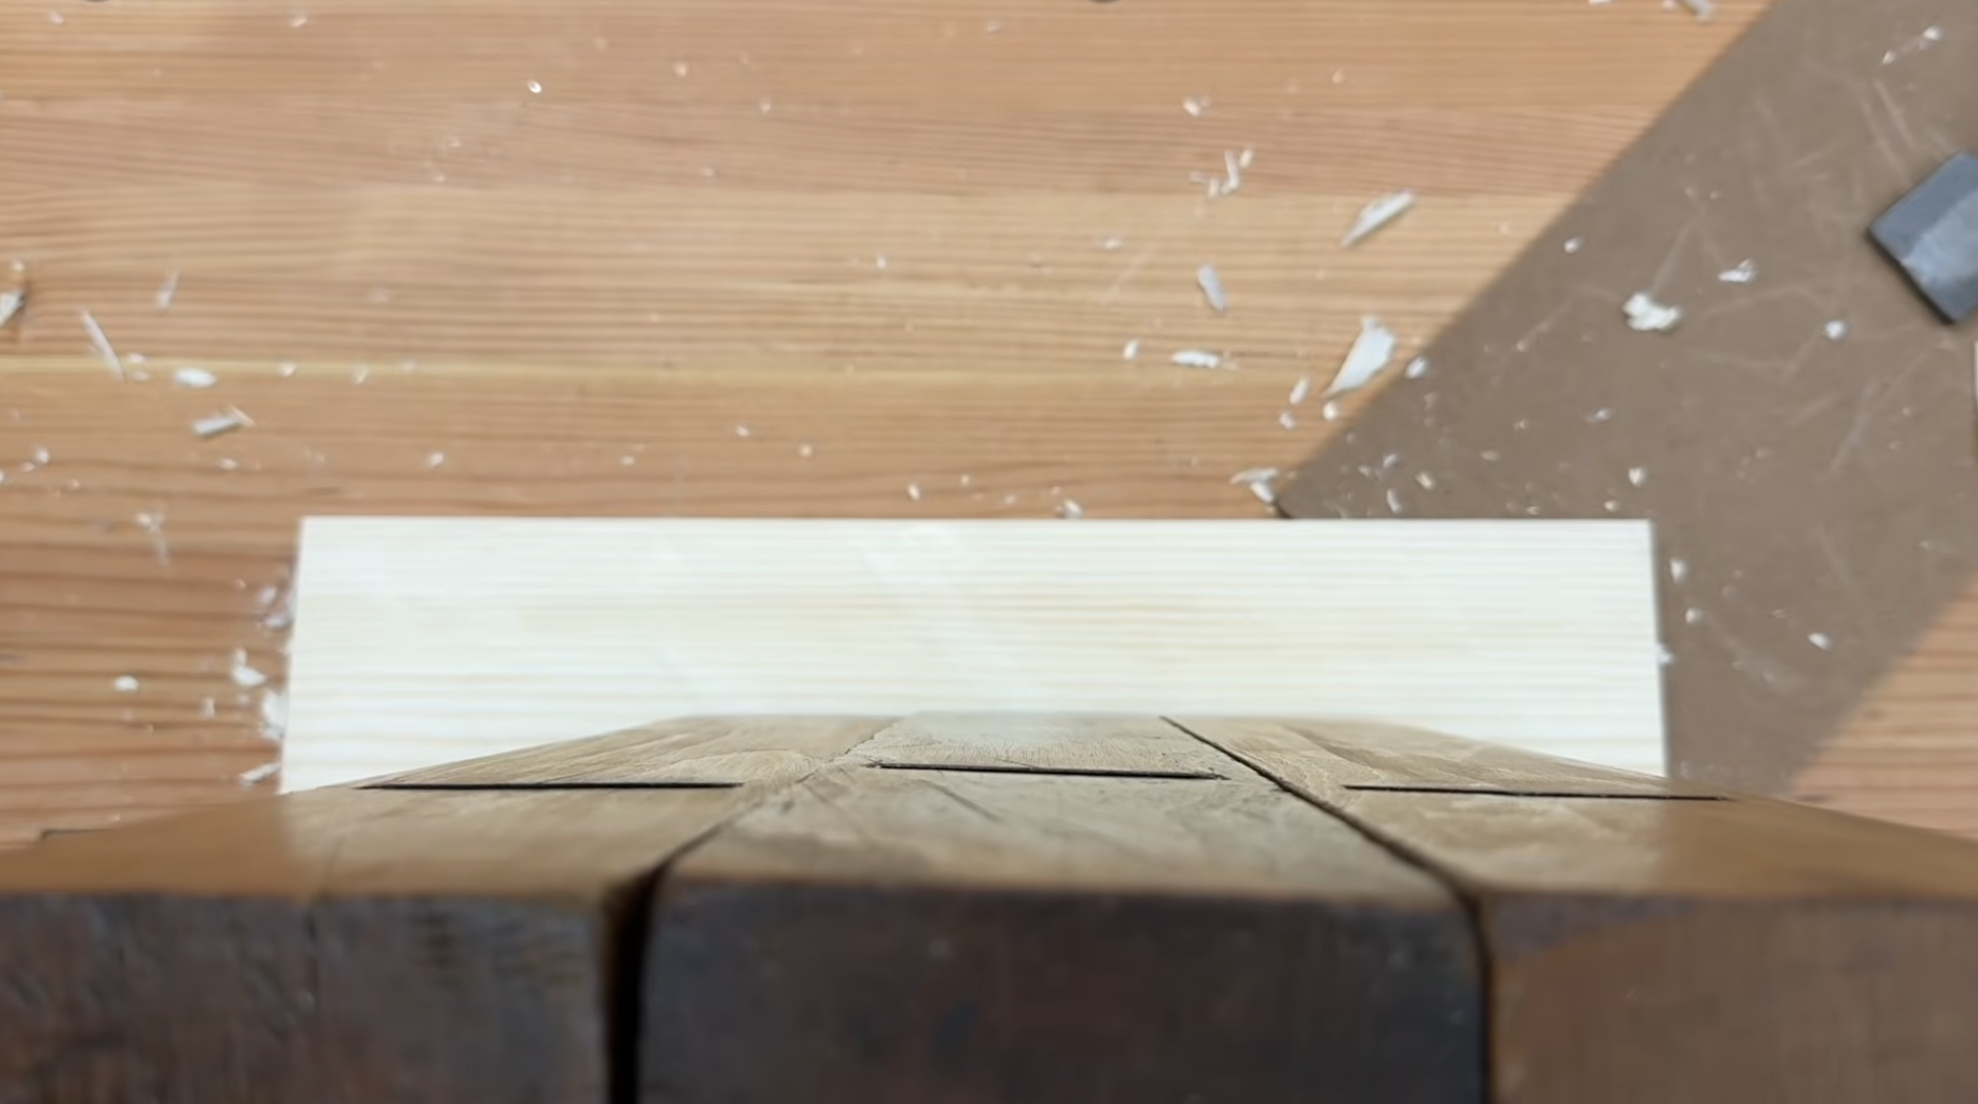 From left to right: Too much, just right, too little
Still having problems?
Book a one-on-one video session and I'll help you out.